When you’ve got your hands on some great new, stunning iron-on patches, butt the dilemma arises when it’s time to attach them, and you would need some help figuring out how to proceed. No worries, though! We’ve got your back and will provide a detailed guide how to iron on patches step-by-step. You don’t need to be an expert in crafting or have any special skills to make it work. The iron-on patch process is straightforward and will take little more than iron and patience.
Before you begin the iron-on process, examining the fabric or garment you plan on attaching the patch is crucial. Heavier materials such as denim or cotton are ideal for iron-on patches as they can handle the heat and pressure applied during the process. However, if you’re working with polyester fabric, be extra cautious, as it can quickly burn or discolor if the heat is left on the fabric for too long. Materials such as silk or lace are delicate and unsuitable for iron-on patches.
To ensure you are happy with the placement and position of the patch, it’s best to place it on the garment before starting the ironing process. Doing that will allow you to experiment with different locations and determine the best spot for the patch. If you’re working with multiple patches, please plan and make sure enough space to accommodate them. It would be frustrating to finish ironing the patches and realize you need more room for the last few patches!
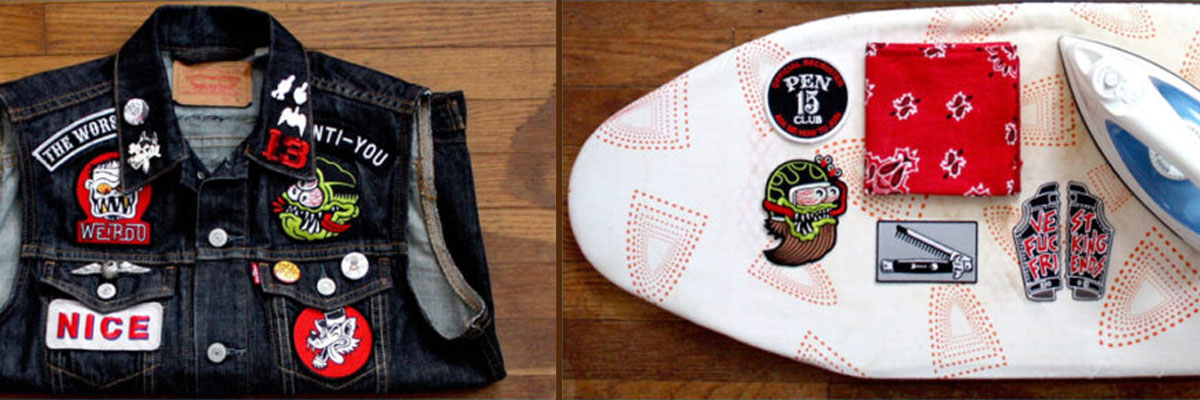
To begin the iron-on process, iron the garment or fabric that will receive the patch. Place the textile or apparel on an ironing board or another flat surface that can handle the heat of the iron. Ensure there are no creases or wrinkles on the garment before attaching the patch.
Next, choose where to place the patch and carefully lay it on the garment. Check again for any wrinkles or folds around the patch, as they can affect the final outcome. Place a thin towel on top of the patch, making sure not to disturb it. The towel will serve as a protective barrier between the patch and the hot iron, preventing the patch from getting singed or discolored.
If your iron has a steam setting, turn it off, and ensure no water is left in the reservoir. Place the hot iron over the area with the patch and hold it there for about 30 seconds, applying firm pressure. Keep your hand steady and avoid movement to prevent the patch from shifting on the fabric. After pressing the front side, turn the garment over and press directly on the back of the patch for another 20 seconds to melt the glue more fully.
After removing the iron, allowing the patch to cool down for about a minute is essential. Once cooled, please carefully remove the towel from the patch and look it over closely. You should take prompt action if you notice any edges that must be fully adhered to the fabric or garment.
Place the towel back onto the patch and apply firm pressure with the iron for another 10 seconds to address this issue. After that, remove the towel again and inspect the patch once more. You want to ensure that all the patch edges are flat against the fabric or garment, indicating that it’s fully secured.
If you still notice any areas that need to be fully adhered to, repeat the process until the patch is secure. It’s essential to ensure the patch is correctly attached, as an unsecured patch could become loose or fall off entirely, rendering the repair ineffective.
You can also quickly learn how to iron on patches by watching this video below:
Congratulations, you’ve successfully applied the patch to your garment! Now, it’s ready to wear and show off. If you’re looking for extra security, some people sew around the patch’s edges, but this step is optional.
While the adhesive used for the patch is water-resistant, we recommend hand-washing the garment instead of running it through the washing machine to ensure the patch stays in place. After washing, hang the garment to air dry. Avoid using a dryer, as the friction can cause the patch’s edges to lift, resulting in an unattractive appearance.
We’re glad we could make this process quick and easy for you know how to iron on patches. However, if you have any follow-up questions or concerns, please don’t hesitate to send an email to jason@ruijichina.com contact us. Our team is always here to help you with anything else you need.